Dehydrating fruits at home is a game-changer for anyone looking to enjoy delicious, healthy snacks while reducing food waste. Whether you’re a fan of chewy dried mango or crisp apple chips, dehydration preserves the nutrients and flavors of fresh fruit in a portable, long-lasting form. Plus, it’s a more sustainable choice, as it cuts down on the energy and packaging used in commercially dried fruits.
In this guide, we’ll explore the best techniques for dehydrating fruits at home, step-by-step. By the end of this article, you’ll know how to choose the right fruits, the equipment you’ll need, and how to achieve perfect results every time.
Many people think dehydrating fruits at home is too complicated or requires expensive equipment, but that’s simply not true. Whether it’s concern about not getting it right, fear of wasting fruit, or uncertainty about the process, these feelings are entirely normal—but the truth is, dehydrating fruits at home is surprisingly simple. With just a little preparation and some basic tools, anyone can do it.
If you’ve ever thought, “I don’t have the skills or knowledge to make dried fruit,” let me assure you: you don’t need to be a professional chef or own fancy equipment to get started. Even an oven or the sun can work beautifully! The key is to start small, experiment, and embrace the learning process. Over time, you’ll find your rhythm and develop techniques that work best for you.
So don’t let uncertainty hold you back. Dehydrating fruits at home isn’t just doable—it’s fun, rewarding, and a great way to enjoy healthy snacks you’ve made yourself. Give it a try, and you’ll see just how easy and satisfying it can be!
Why Dehydrate Fruits at Home?
Health Benefits: Homemade dehydrated fruits are free from the added sugars, preservatives, and artificial flavorings often found in store-bought options. You control the ingredients, ensuring a healthy, natural snack.
Family-Bonding: Cooking at home—especially with your family—can be one of life’s greatest pleasures. Dehydrating fruits together offers an opportunity to bond, laugh, and learn while creating something wholesome and delicious. Involving kids in the process, like washing fruits, slicing them (with supervision), and arranging them on trays, turns this activity into a fun, hands-on experience. Plus, the anticipation of checking the final results brings an added layer of excitement and teamwork.
Beyond the delicious outcomes, cooking together fosters quality time and meaningful connections in our busy lives. It’s a chance to step away from screens, engage in conversation, and create lasting memories. Whether it’s a family tradition of making dried mangoes every summer or experimenting with new fruits during the holidays, the experience of working together is just as satisfying as enjoying the sweet, healthy treats you’ve made.
Cost-Effective: Buying dried fruits from the store can quickly add up, especially if you’re opting for organic or specialty varieties. Dehydrating fruits at home is a budget-friendly alternative that allows you to enjoy the same benefits without the hefty price tag. By purchasing fresh fruits in bulk, especially when they’re in season and prices are lower, you can create a larger batch of dried snacks for a fraction of the cost. With a little planning, home dehydration can help you stretch your grocery budget further while ensuring that no fruit goes unused.
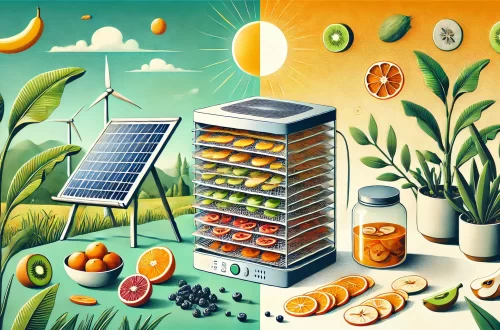
Environmental Impact: Dehydrating fruits at home is not only a healthier and cost-effective choice but also a more sustainable one. By eliminating the need for single-use plastic packaging and reducing the carbon footprint associated with the production and transportation of commercially dried fruits, home dehydration takes a significant step toward a greener lifestyle. Every batch of dried fruit you create at home helps cut down on the environmental costs of industrial food processing.
Beyond reducing packaging waste, home dehydration is an excellent way to prevent food waste. Those slightly overripe bananas, soft strawberries, or surplus apples that often end up in the trash can be transformed into delicious, long-lasting dried fruits or even fun fruit leathers. This process not only preserves the fruits’ natural flavors and nutrients but also ensures that no part of your grocery haul goes to waste. Imagine the satisfaction of turning “imperfect” produce into perfect snacks for your family, all while saving money and reducing your ecological footprint.
Even better, home dehydration empowers you to use the whole fruit, such as turning apple peels into crispy snacks or blending leftover pulp from juicing into fruit leathers. It’s a creative, sustainable way to minimize waste and maximize value. By adopting home dehydration, you’re not just creating nutritious treats—you’re making a meaningful contribution to a more environmentally conscious world, one fruit at a time.
Helping Those in Need: Dehydrating fruits at home isn’t just a great way to reduce waste and enjoy healthy snacks—it can also be a powerful way to give back to your community. By making dried fruits and fruit leathers, you can create nutritious, long-lasting snacks that are perfect for donating to those in need. Local food banks, shelters, and community programs often struggle to provide healthy, shelf-stable options for individuals and families facing food insecurity. Your homemade creations can make a meaningful difference by offering a portable, nutrient-rich snack that’s both delicious and nourishing.
This kind gesture not only benefits the recipients but also fosters a deeper connection within your community. Involving friends and family in the process can turn this act of giving into a shared experience of compassion and generosity. Whether you’re making dried apple slices for a shelter, packaging fruit leather for a school lunch program, or sharing your creations with neighbors in need, these small acts of kindness can have a big impact. It’s a simple yet heartfelt way to use your skills and resources to bring a little sweetness and hope to someone else’s life.
Preparing for Success: What You’ll Need
Before you start dehydrating, it’s essential to have the right tools and preparation. Here’s what you’ll need:
Fruit Selection: Choose fresh, ripe fruits. Avoid fruits with bruises or blemishes, as they may not dehydrate evenly. Popular choices include apples, bananas, mangoes, pineapples, strawberries, and apricots. Any fruit can be dehydrated, but the results can vary. If your favorite fruit isn’t on this list, don’t be shy—give it a try! You might discover a new favorite snack.
Equipment:
- Dehydrator: A dehydrator is the most efficient tool, offering consistent heat and airflow.
- Oven: If you don’t have a dehydrator, a standard oven can work for many fruits.
- Air-Drying Racks: Suitable for naturally dry climates, though this method takes longer.
Additional Tools:
- A sharp knife or mandoline for slicing fruit evenly.
- Parchment paper or non-stick sheets for easy cleanup.
- Lemon juice or ascorbic acid to prevent browning.
Step-by-Step Guide: Techniques for Dehydrating Fruits
Prepare your mise en place
Washing and Preparing the Fruit: Wash the fruit thoroughly under cold water to remove dirt, pesticides, and bacteria. Peel if desired (e.g., for apples or pears), but leaving the peel on can add fiber and nutrients.
Slicing the Fruit Evenly: Consistent slicing is key to even dehydration. Use a mandoline for uniform thickness. Aim for slices about 1/8 to 1/4 inch thick, depending on your preference for chewy or crispy textures.
Pretreating the Fruit: Some fruits, like apples and bananas, can oxidize and turn brown during dehydration. Soak slices in a solution of lemon juice and water (1:4 ratio) for 5 minutes to preserve color and flavor.
Dehydration Techniques
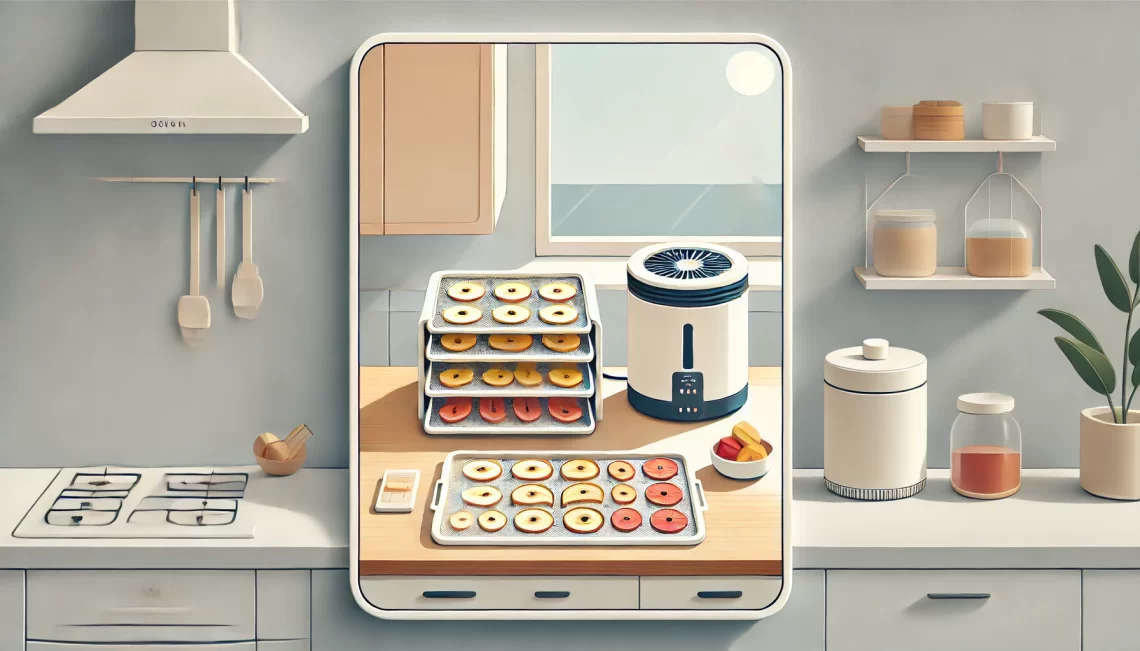
Using a Food Dehydrator: A food dehydrator is the most efficient method for drying fruits at home.
- Set the Temperature: Most fruits dehydrate well at 135°F (57°C).
- Arrange the Fruit: Place slices in a single layer on dehydrator trays. Ensure there’s space between pieces for airflow.
- Drying Time: Depending on the fruit, dehydration can take 6-12 hours. Check periodically for desired texture.
Using an Oven: If you don’t own a dehydrator, your oven can work well for most fruits.
- Preheat the Oven: Set to the lowest temperature, ideally around 140°F (60°C).
- Use Parchment Paper: Line baking sheets to prevent sticking.
- Arrange the Fruit: Place slices in a single layer, leaving space for airflow.
- Keep the Door Ajar: Prop the oven door open slightly to allow moisture to escape. Use a wooden spoon to keep it open if needed.
- Drying Time: 6-8 hours, flipping the fruit halfway through for even drying.
Air-Drying (Sun-Drying): This method is eco-friendly but requires a hot, dry climate.
- Location: Choose a sunny, dust-free area.
- Prepare the Setup: Place fruit slices on a drying rack or mesh screen. Cover with a thin cloth to protect against insects.
- Drying Time: 2-4 days, depending on weather conditions. Bring the racks indoors at night to prevent moisture buildup.
Tips for Perfect Results
- Test for Doneness: Properly dried fruit should be pliable but not sticky. Overdrying can make fruits brittle, while under-drying can lead to spoilage.
- Rotate Trays: If using a dehydrator or oven, rotate trays periodically for even drying.
- Cool Before Storing: Allow fruits to cool completely before storing to prevent condensation.
Storing Your Dehydrated Fruits
To maximize shelf life, store your dehydrated fruits in airtight containers. Mason jars, vacuum-sealed bags, or resealable plastic bags work well. Keep them in a cool, dark place, and check periodically for signs of moisture, which can lead to spoilage.
Conclusion
Dehydrating fruits at home is a rewarding process that offers delicious, healthy snacks for your family and all around you while promoting sustainability and reducing waste. Whether you choose a dehydrator, oven, or sun-drying method, the key is preparation and patience. By mastering these techniques, you’ll enjoy the satisfaction of knowing exactly what’s in your food—no additives, no preservatives, just natural goodness. Start experimenting today and discover how easy and enjoyable home dehydration can be! You will enjoy it, one experiment at a time!